Building a Custom Display Setup for Wii Sports Hardware and Accessories

This guide covers how to design and build a display system specifically for Wii Sports-era hardware, from the console itself to the various motion controllers. You'll learn how to manage cable clutter, prevent sun damage, and use lighting to make your collection look professional without looking like a messy junk drawer. A proper setup ensures your pieces aren't just sitting on a shelf, but are actually presented as part of a curated collection.
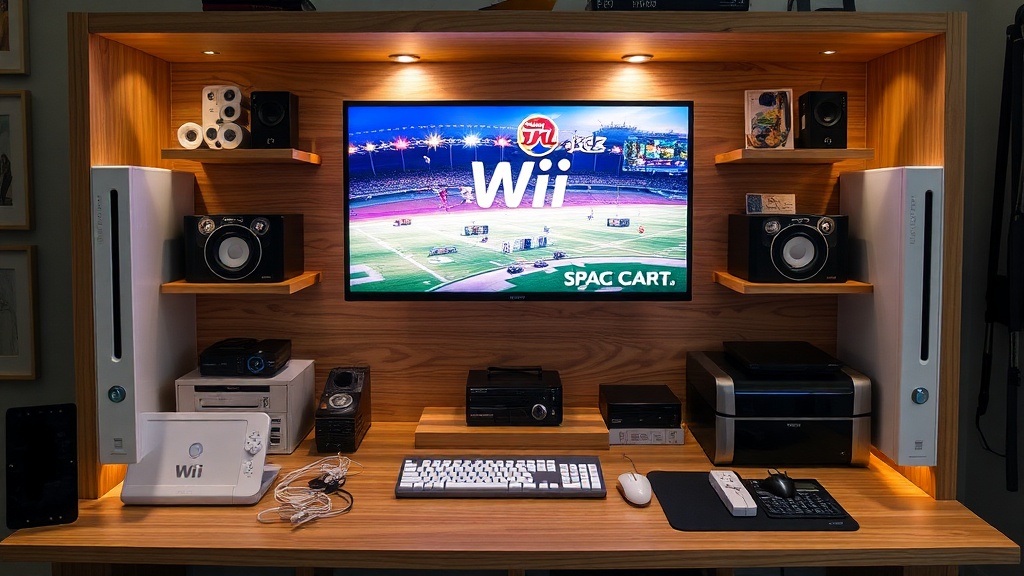
Collecting hardware isn't just about owning the pieces; it's about how you present them. If you just toss a Wii console and a few Wii Remotes on a bookshelf, they'll likely gather dust and look out of place. A dedicated display setup gives your collection a sense of intention. It moves your items from being "old electronics" to being "treasured gaming artifacts." This requires a bit of planning regarding space, light, and weight distribution.
How do I prevent yellowing on white Wii consoles and controllers?
The most common enemy for any Wii Sports collector is UV light. The white plastic used in the original Wii hardware is notorious for turning a sickly yellow over time—a process often caused by a chemical reaction called bromine-induced discoloration. To stop this, you shouldn't just hide them in a box; you need a display that blocks harmful rays. Use UV-protected acrylic cases or display cabinets. If you're using a glass cabinet, look for one with tempered glass or a UV-filter film applied to the panes. This keeps the hardware visible while shielding the plastic from the sun's rays. If you're displaying items near a window, you're essentially inviting the heat and light to ruin your investment. Always check the light levels in your room before committing to a permanent spot for your display.
When setting up your display, think about the weight of your items. A standard Wii console is relatively light, but if you're displaying a heavy stack of original boxed games or bulky peripheral accessories, you need a sturdy base. Acrylic stands are great for improving a single Wii Remote or a Nunchuk to show off the design, but don't overstuff a single shelf. A cluttered shelf looks disorganized, which ruins the aesthetic. You want a balance of negative space—the empty area around your items—to make the hardware pop. This is a technique used by professional museum curators to draw the eye to specific objects.
Where should I place my Wii Sports collection to avoid damage?
Placement is everything. You might think a shelf in a basement or a dark corner is best, but that can lead to moisture and mold issues. On the flip side, a high-shelf in a bright living room will lead to rapid yellowing. The ideal spot is a temperature-controlled indoor environment. Avoid placing your display directly above a heater or near an air conditioning vent. Rapid temperature shifts can cause the plastic to expand and contract, which isn't great for the internal components or the structural integrity of the casing. If you're using LED lighting, make sure they aren't generating heat. Old-school incandescent bulbs are a terrible idea for a display case because they emit heat that can warp plastic over time. Stick to cool-running LEDs to keep your gear safe.
For those who want to show off the connectivity of the hardware, consider a tiered approach. You might have a main shelf for the console and a secondary, slightly lower tier for the controllers. This creates depth. If you're displaying the Wii MotionPlus or specific sports accessories, use small, clear stands to keep them upright. This prevents the items from rolling around or leaning at awkward angles. A well-organized tier system also makes it easier to clean. Dusting a flat surface is much easier than trying to pick up a controller from a cluttered pile of wires. Speaking of wires, let's talk about the elephant in the room: cable management.
How can I hide wires while still displaying the hardware?
A display full of tangled black and white cables looks messy and unprofessional. To keep your setup looking clean, use cable sleeves or even small, color-coordinated zip ties to group your wires together. If you're displaying a console that is actually plugged in and functional, try to route the cables behind the display or through a hollowed-out part of the shelf. Many collectors use "fake" cables or simply decorative-only setups for their displays to avoid the clutter entirely. If you must have functional wires, use a cable management box at the base of your display to hide the power strips and excess cord length. This keeps the focus on the hardware rather than the mess of wires underneath.
Another trick is to use a custom-built backboard. If you have a wooden or acrylic backboard behind your shelf, you can mount the controllers using command strips or specialized mounting brackets. This allows the controllers to "float" on the wall or shelf, looking much more organized than if they were just lying flat. This method also makes it easy to remove a controller if you want to actually play a game without having to unhook a whole mess of wires from a permanent mount. It's a small detail, but it makes a massive difference in the overall look of your collection. You can find various mounting solutions on sites like Amazon or specialty hobby shops to achieve this professional look.
Finally, remember that your collection is a living thing. It needs regular maintenance. Every few months, I recommend a quick dusting with a soft micro fiber cloth and a pressurized air can to clear out any dust in the ports. Don't use harsh chemicals on the plastic; a slightly damp cloth is usually enough. If you're displaying items that are highly sensitive to humidity, consider adding small silica gel packets inside your display cases. These packets absorb excess moisture and can help prevent any internal corrosion in the hardware. A little bit of care goes a long way in preserving the history of these iconic gaming pieces.